Lotiif Visuals Shader
- 13-02-2026, 10:19
- 427

Lotiif Visuals Shader is made for players who want their world to look brighter, cleaner, and more “alive” the second they load in. The pack is built around visual upgrades that hit the stuff you notice nonstop in Minecraft Bedrock—lighting, shadows, water, and the sky—so even regular survival chores like running to a farm or heading out for resources feel more cinematic.
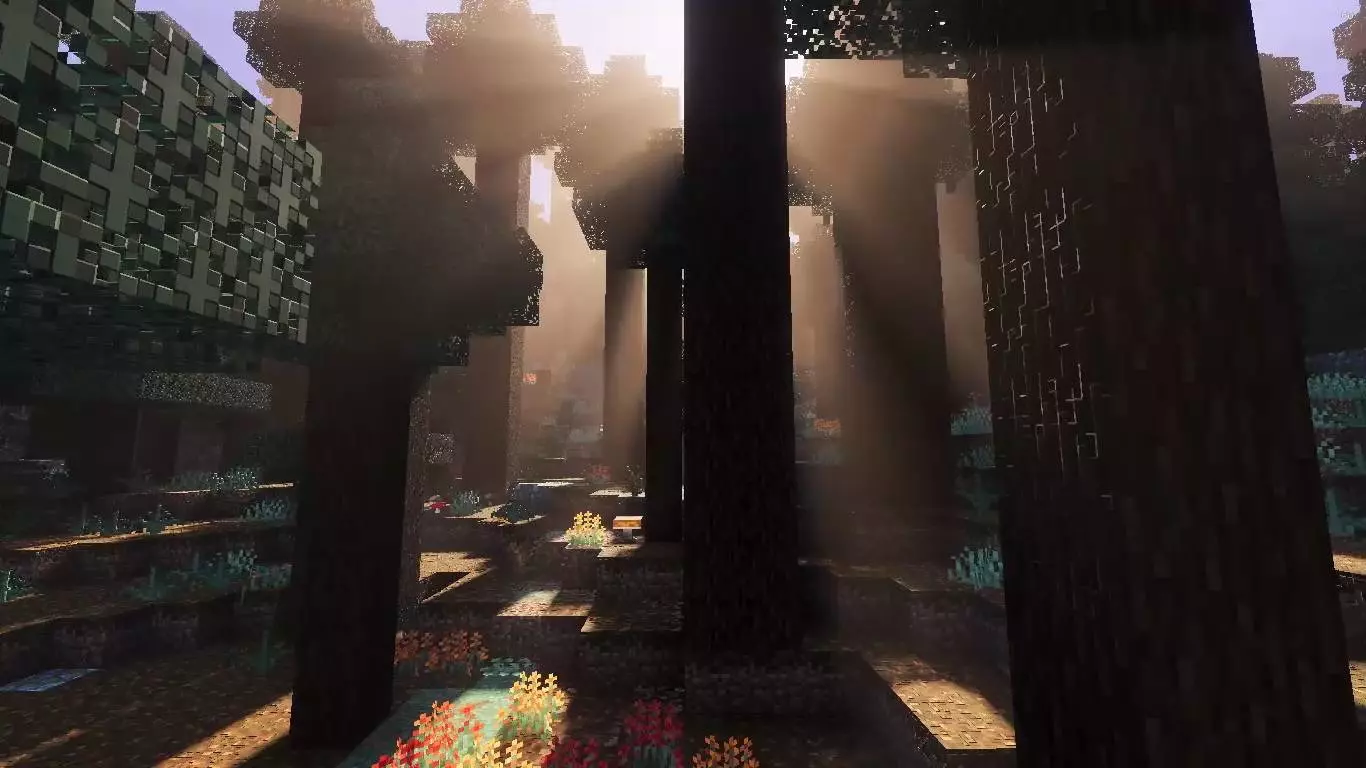
Lighting and reflections are a main focus, which is what gives builds that extra depth. When lighting looks more realistic, walls and terrain stop feeling flat, and you start noticing how light changes your base throughout the day. The shader also includes soft and dynamic shadows, which makes walking through forests, mountains, or even your own build feel more natural because shade actually matters visually instead of everything looking evenly lit.
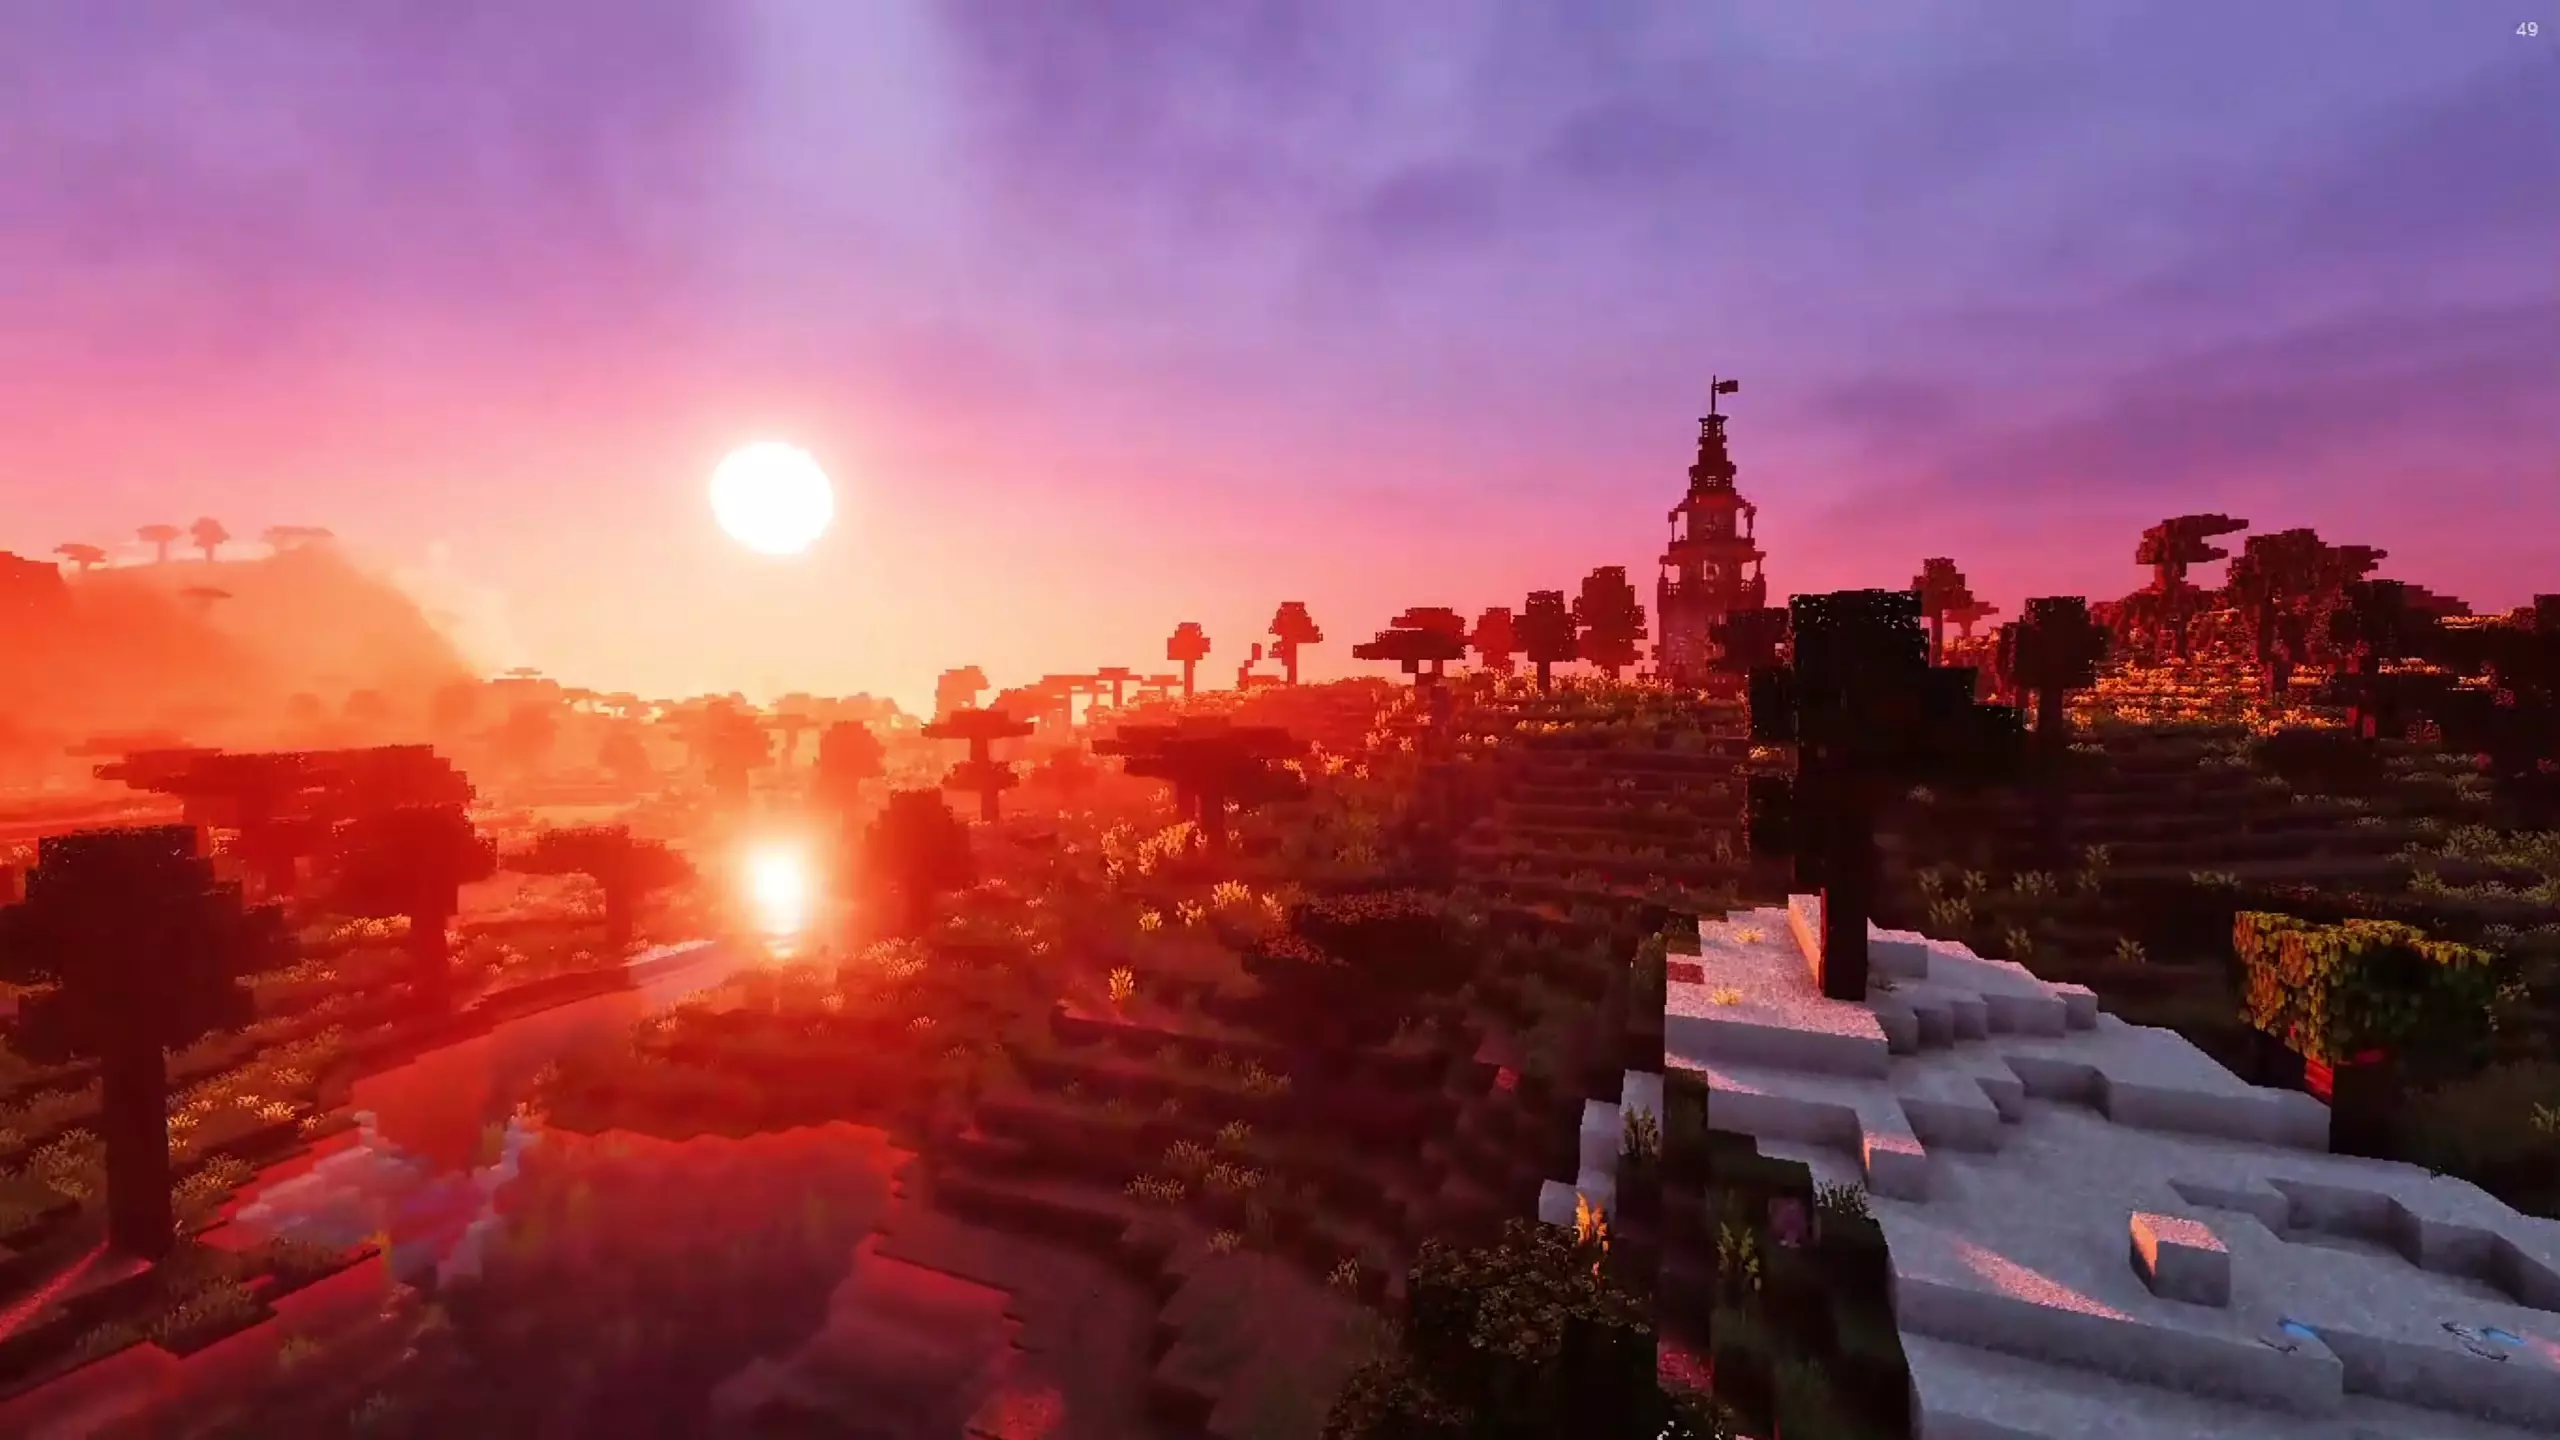
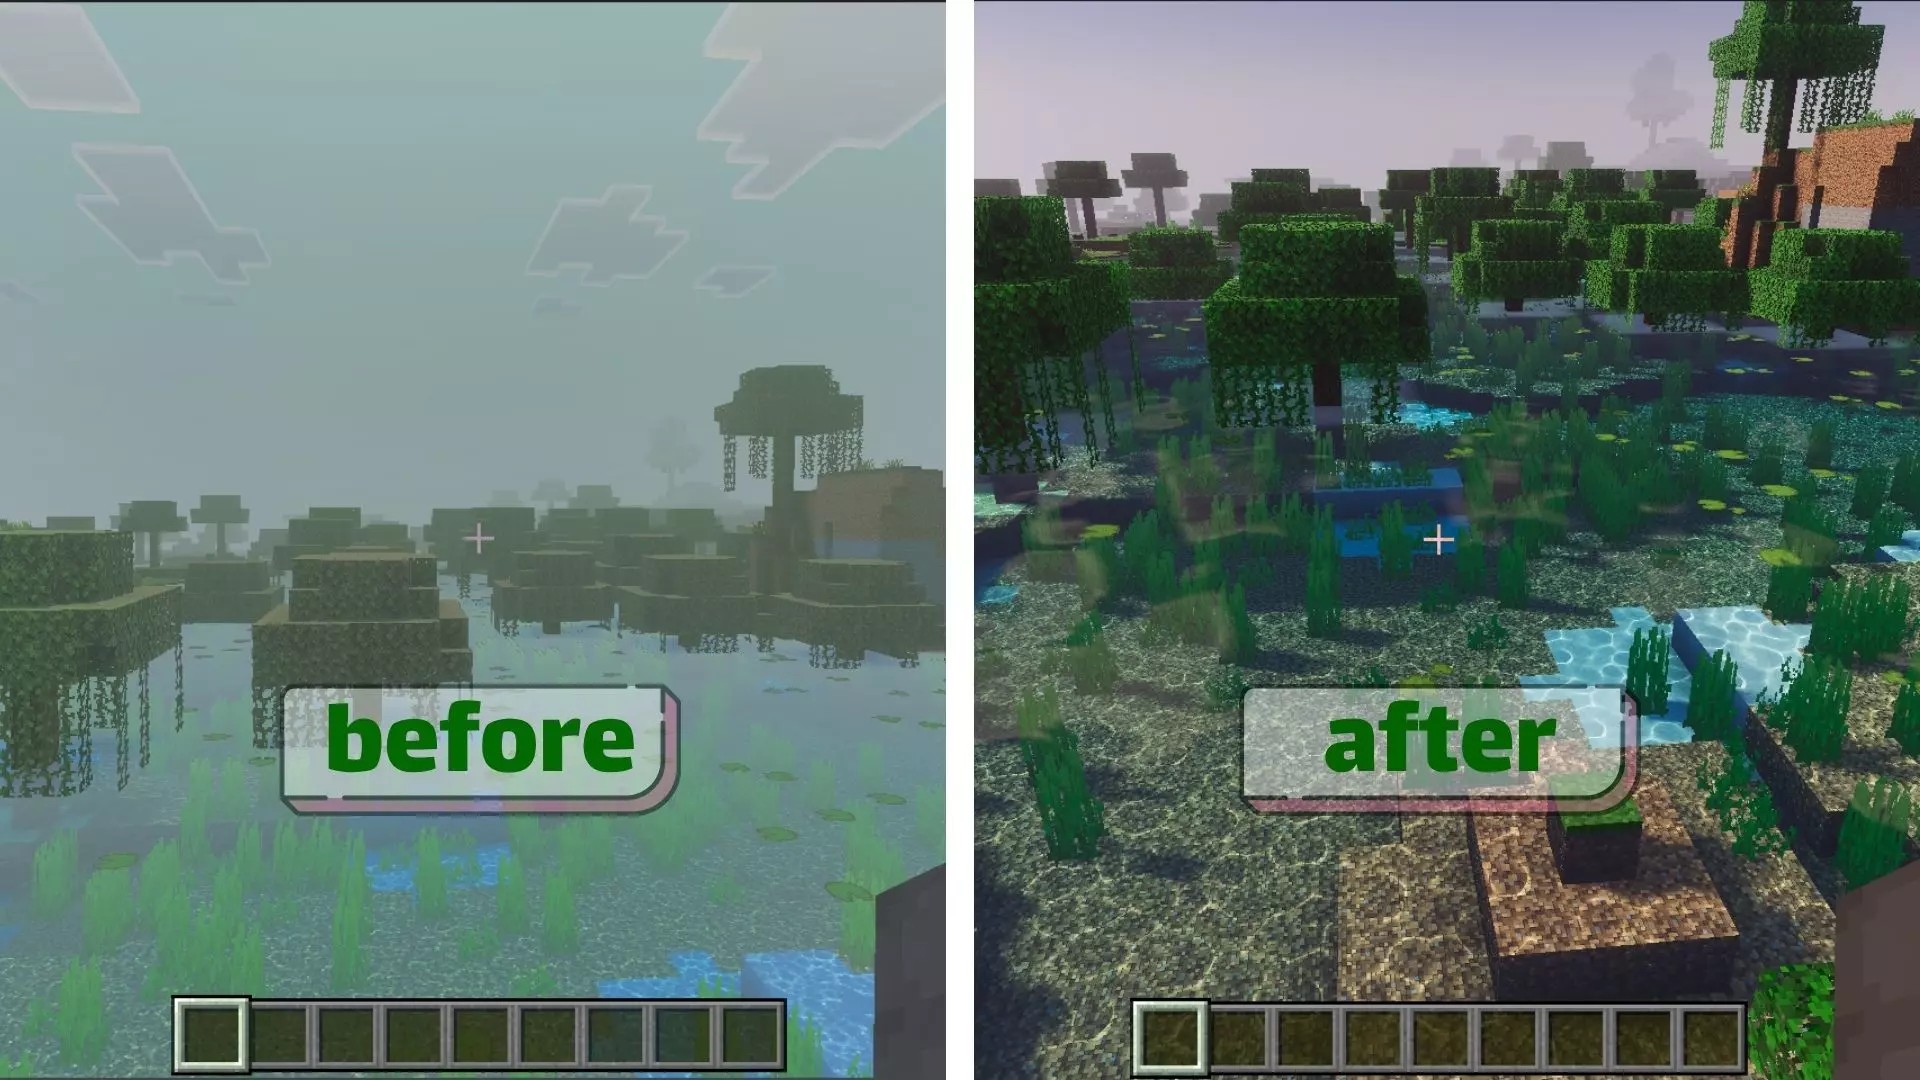
Water gets a glow-up too with reflective water. That’s huge if you build near rivers, lakes, or oceans, because water is basically always in the background of your view. Reflective water can make docks, bridges, and shoreline bases look way more polished without you placing a single extra block. On top of that, Lotiif Visuals Shader calls out beautiful sunrises and sunsets, which is exactly where shaders usually flex the hardest—warm tones, shifting light, and a world that looks like it’s changing around you instead of just flipping from day to night.


Performance-wise, it claims smooth performance even on mid-end devices, which matters if you want a shader you can actually keep on while you play instead of only enabling it for screenshots. Practical tip: set up a couple of “view spots” at your base—like a balcony, roof, or shoreline path—so you actually catch the sunrise/sunset moments and the sky atmosphere instead of missing it while you’re underground. Lotiif Visuals Shader is for Minecraft Bedrock players who want realistic lighting, soft shadows, reflective water, and atmospheric skies in a pack that’s meant to stay smooth enough for everyday survival.
Installation:
- Download Texture;
- Open the downloaded .mcpack to install;
- Select texture in settings;
- Done.
Comments (0)