Zombie Skin
- 19-01-2026, 15:04
- 759
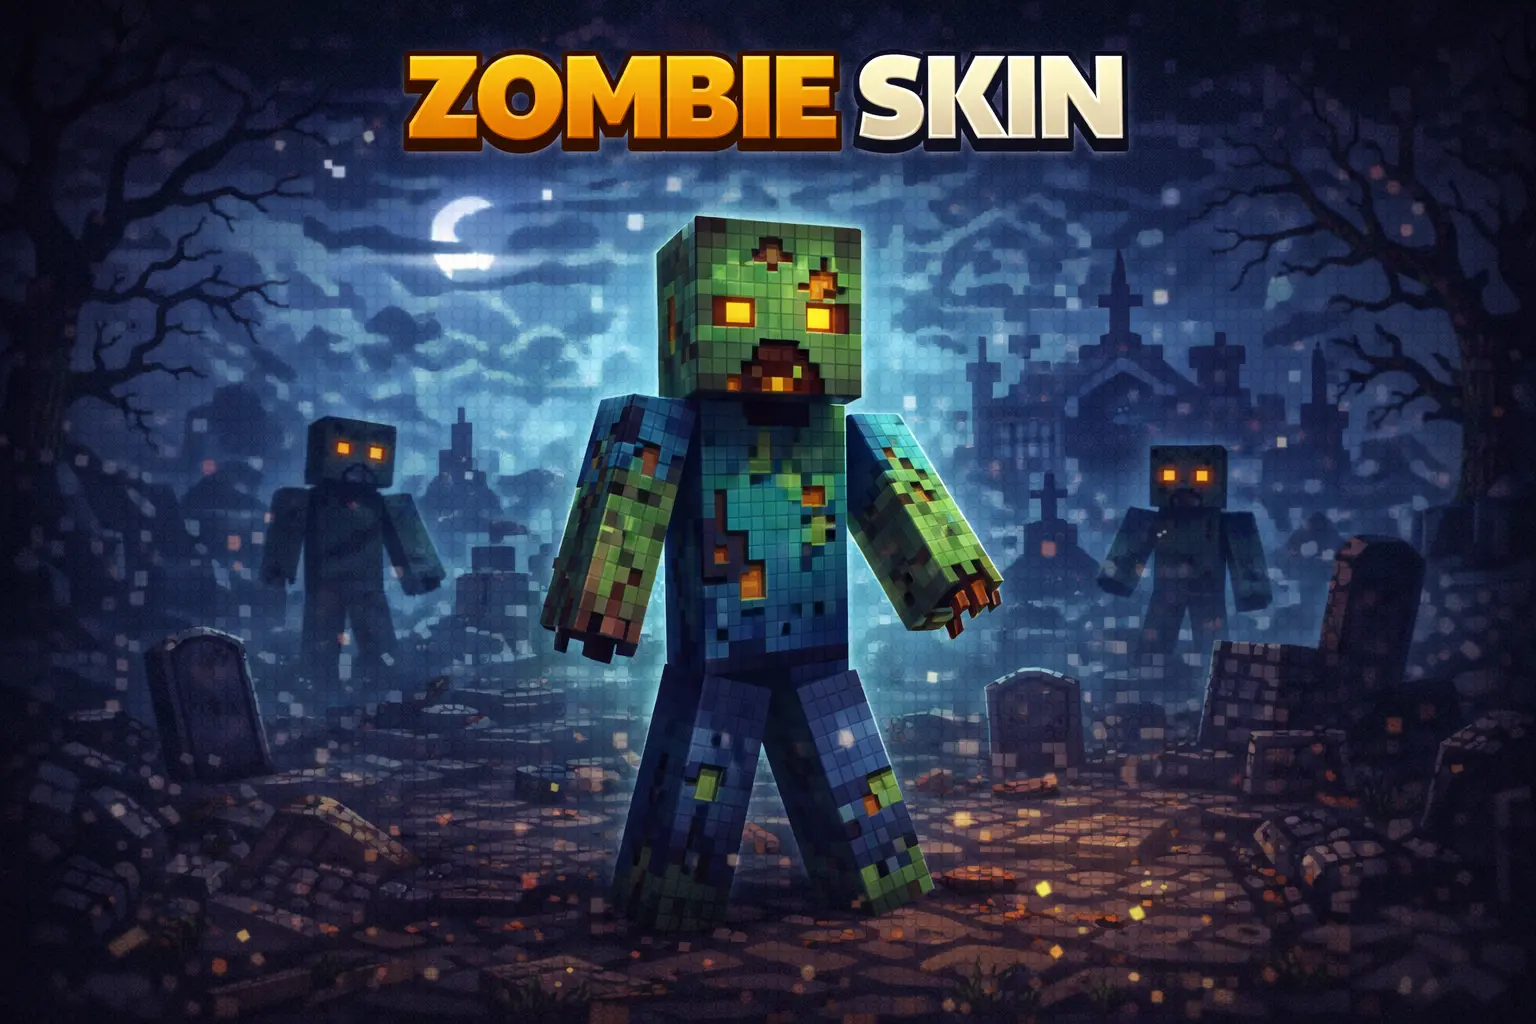
Zombie Skin is all about that classic “something’s not right” vibe in a Minecraft Bedrock session. Even with a simple concept, it fits a ton of playstyles because the zombie theme already matches the game’s nights, caves, and survival pressure. If you want a skin that feels natural while you’re grinding resources or messing around with friends, Zombie Skin does the job without trying too hard.
In survival, it’s weirdly fun wearing Zombie Skin during the early days when you’re still fragile and every night feels like a problem you have to outsmart. Running back to base at sunset, hearing mobs nearby, and seeing your own undead character in third-person just makes the whole moment feel more intense. It also pairs really well with mining trips, because caves already have that “low light, bad surprises” energy, and this skin matches that mood without needing any extra gimmicks.

Multiplayer is where Zombie Skin gets playful. You can lean into stealthy, quiet movement around your friends’ builds, or just show up behind someone while they’re in a chest menu and watch them flinch for no reason. It’s also a solid pick for roleplay worlds and horror-style maps, because it blends into spooky settings naturally and doesn’t look goofy in screenshots or cutscenes.
Small tip: if you want Zombie Skin to stand out more in busy areas, use lighting and contrast to your advantage—hang around darker builds, forests at night, or cave entrances where silhouettes read better. And if you’re doing co-op survival, it’s a funny “team theme” idea too: everybody runs a different monster-style skin while you raid caves, protect the base, and turn the world into your own little undead story.
How to Install Skins in Minecraft Bedrock
- Download a .png skin (64×64 or 128×128).
- Open Minecraft Bedrock.
- Go to Profile (hanger icon) → Edit Character.
- Tap Owned → Import → Choose New Skin.
- Select your .png file.
- Pick a model: Classic (Steve) or Slim (Alex).
- Confirm to equip and play.
Comments (0)